AI art generator
AI Portrait Generator with Real Control Over Light and Lens
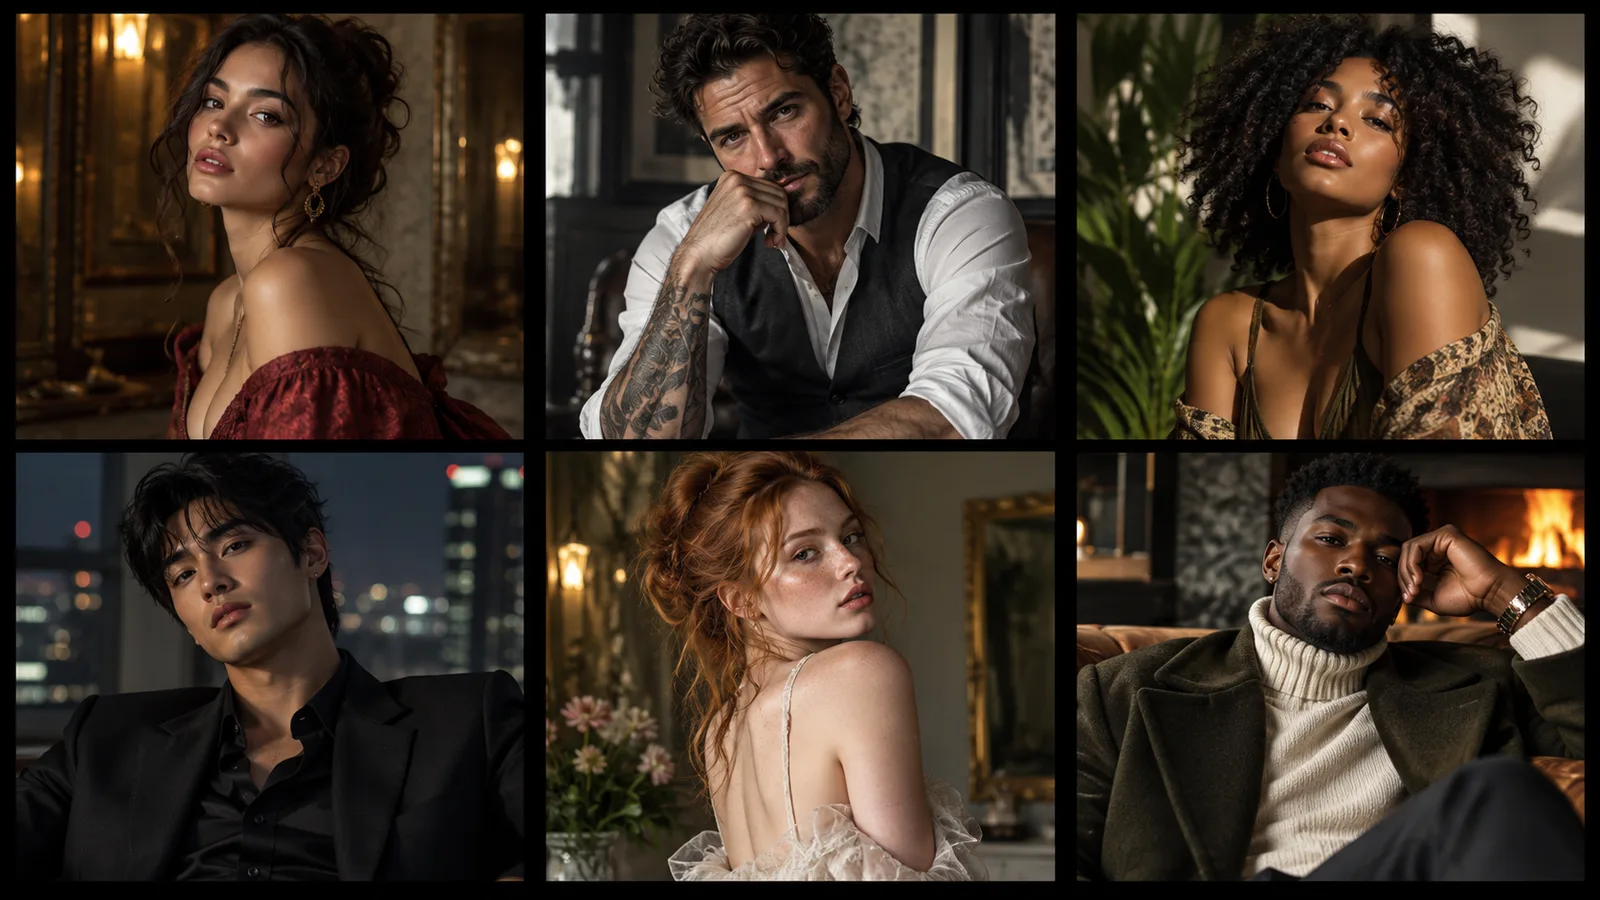
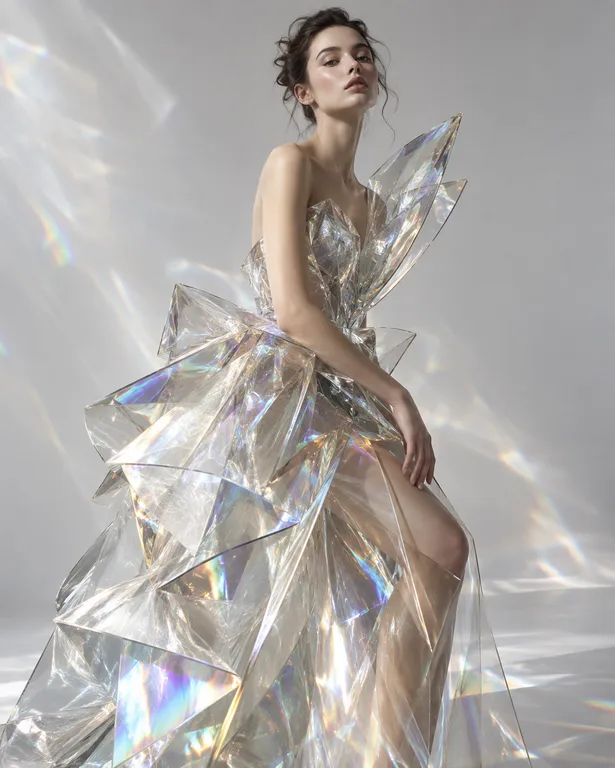
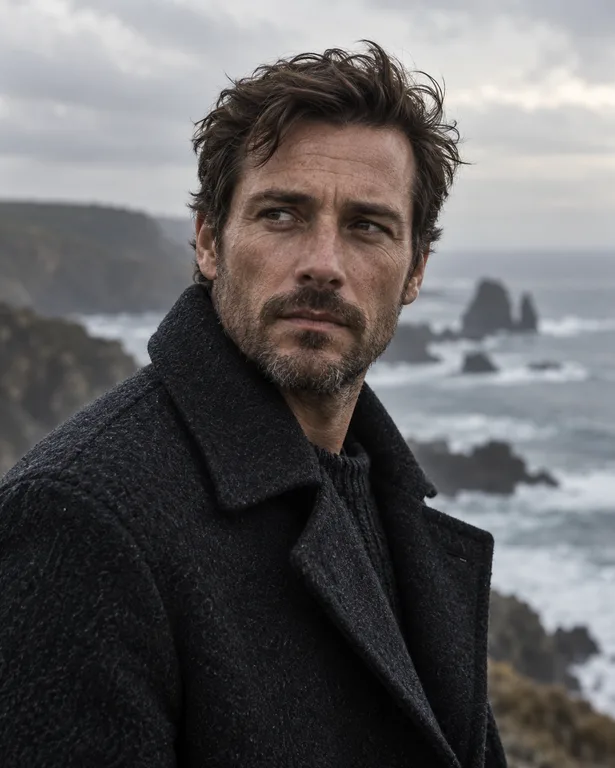
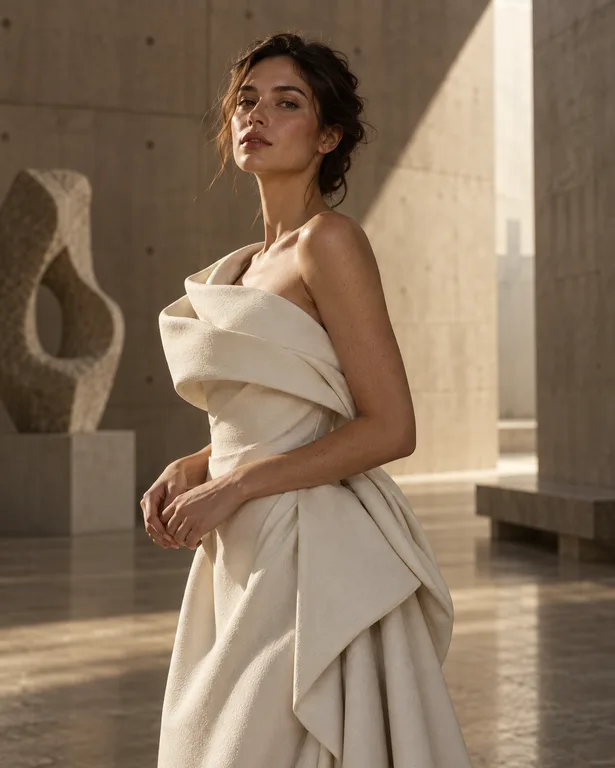
Portraits live or die on light, lens choice and skin texture. This page explains how to describe those three things so fictional faces look photographed rather than rendered, and how to carry the same subject into painted or cinematic treatments.
Made with OpenDream
How it works
- 01
Pick a lens and distance
Name a focal length and framing, like '85mm, head and shoulders' or '35mm, waist up, environmental'. Longer lenses flatten features flatteringly; wider ones pull in context and a documentary feel.
- 02
Place the light
Say where the key light sits and what it is: 'soft window light from camera left', 'single bare bulb overhead', 'overcast daylight'. A named source produces believable shadows under the nose and chin.
- 03
Check skin at full size, then upscale
Zoom in on eyes, teeth and hairline before accepting a result. Fix small issues in the editor, then run the Upscale tool (2× or 4× on Topaz) for print or large displays.
Why create AI portrait generator with OpenDream
Environmental portraits
Place a fictional subject in a workshop, kitchen or studio surrounded by their tools. Context tells a story that a plain backdrop cannot.
Studio headshot looks
A gray or colored seamless backdrop, soft key light and gentle fill give a classic headshot for mock-ups, character references and design comps.
Cinematic lighting setups
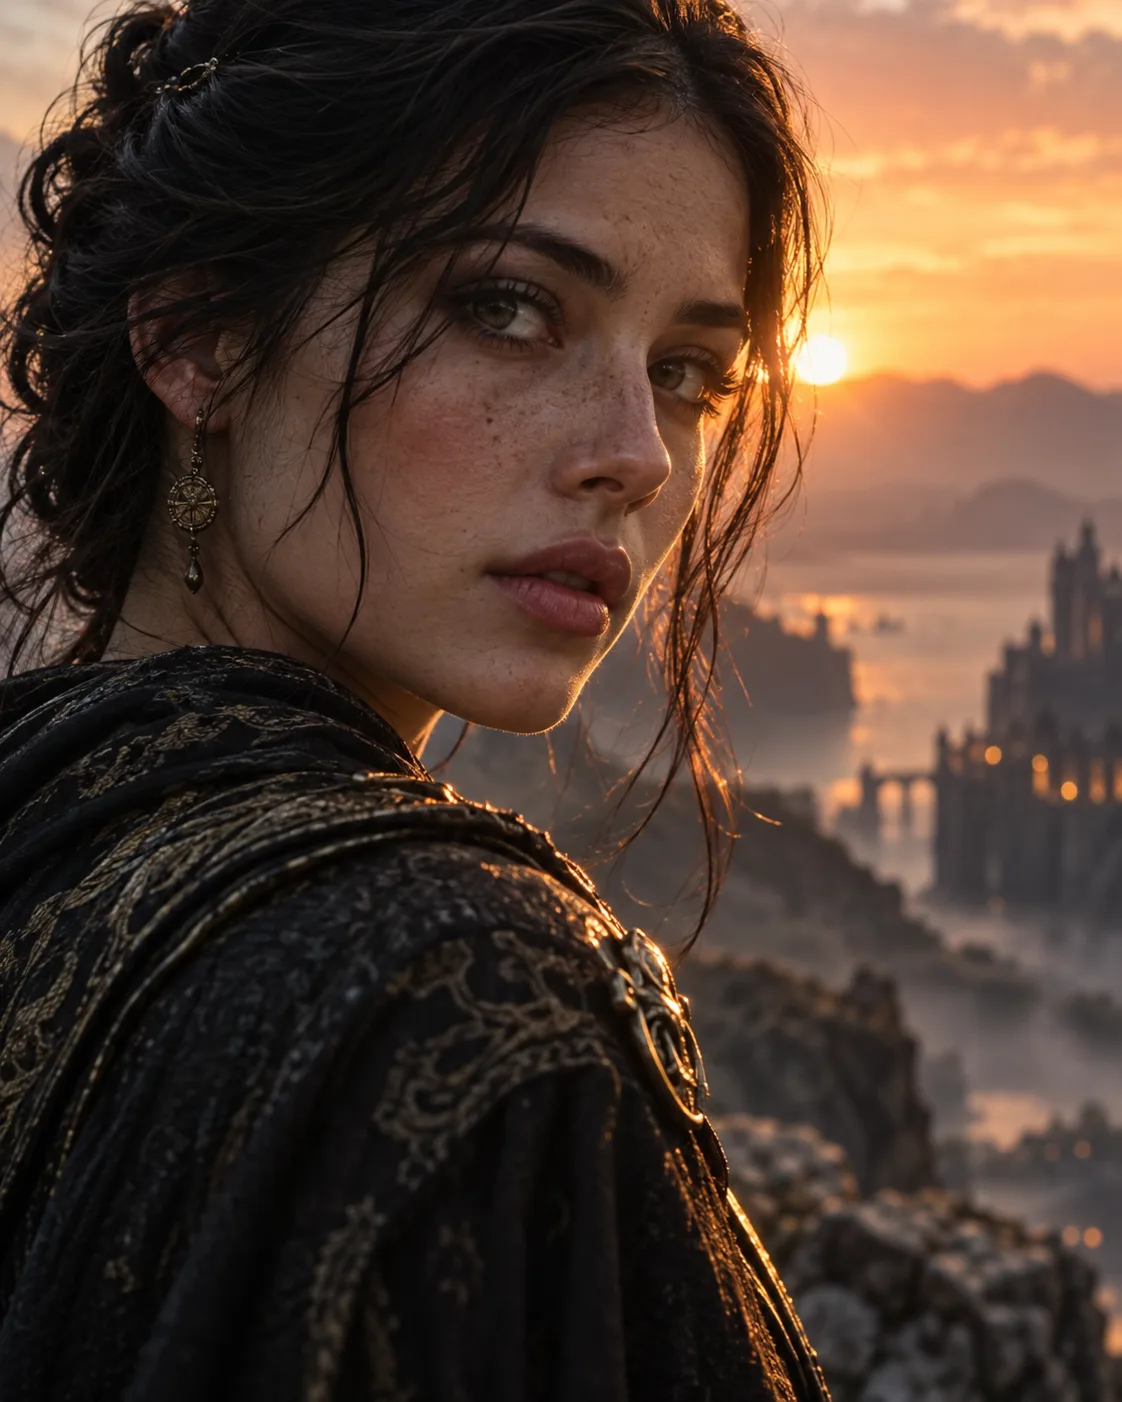
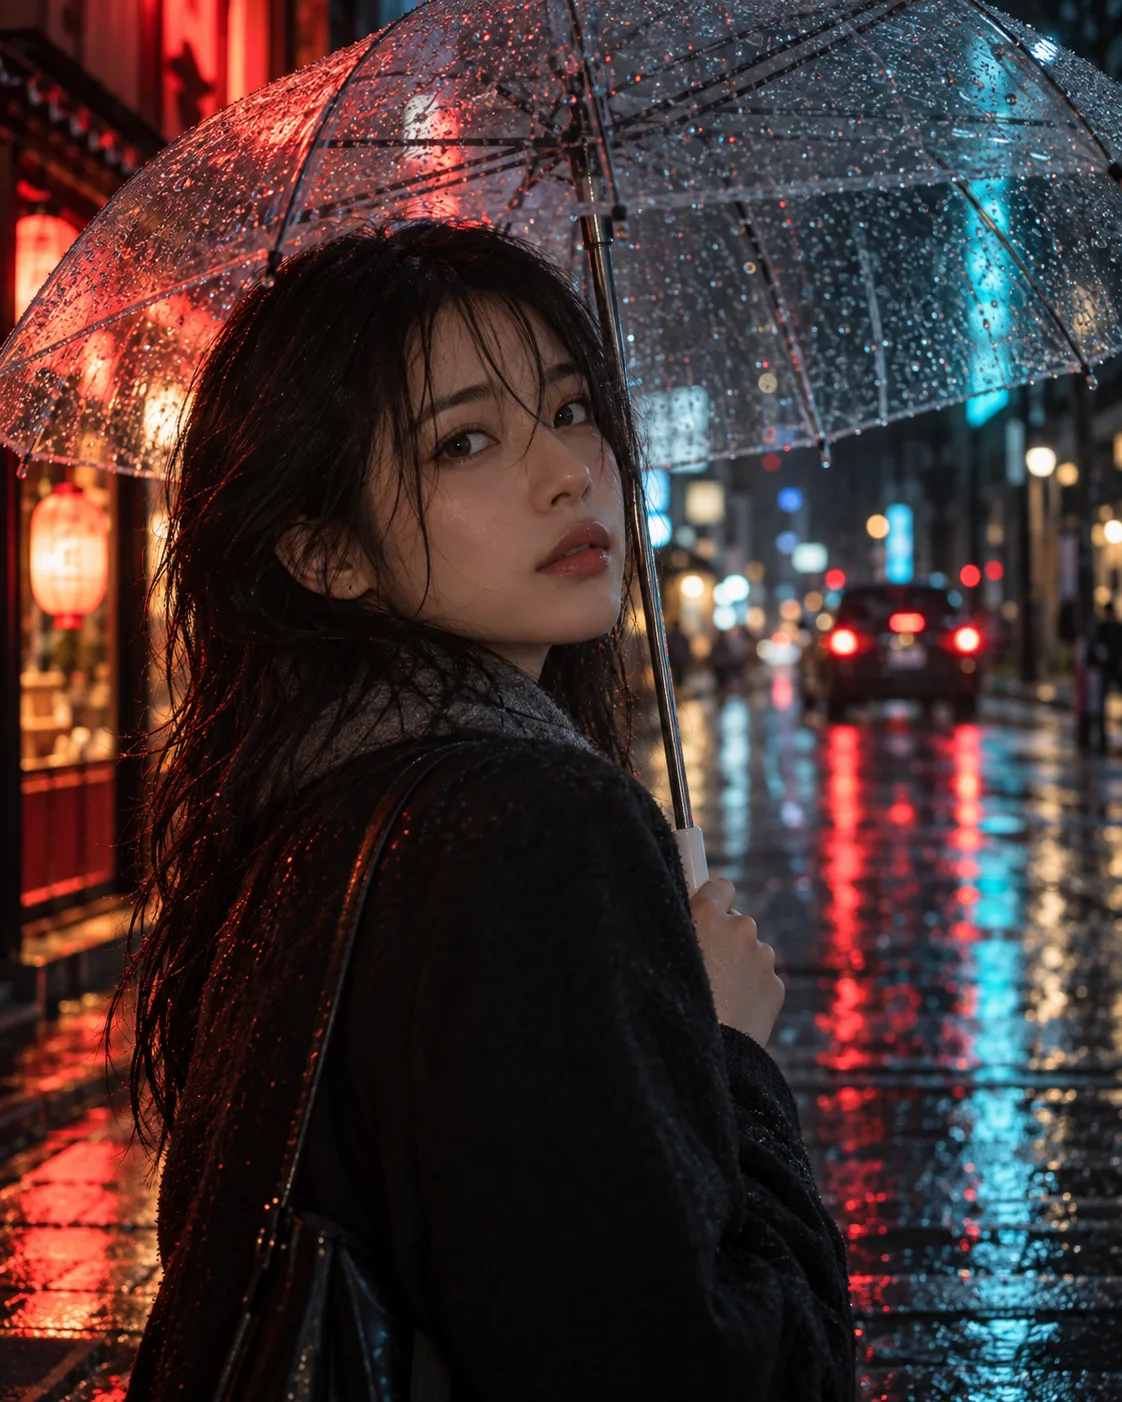
Hard side light, colored practicals and haze produce film-still portraits. The Cinematic Portrait template starts you from a tested setup.
Painted portrait treatments
Switch the style to oil painting or watercolor while keeping the same description to see one subject interpreted across media.
Lens, light and skin: what makes a generated portrait believable
Photographers choose lenses partly for how they draw faces. An 85mm or 105mm lens at head-and-shoulders distance compresses features and softens the background; a 35mm lens used up close stretches the nose and brings the room into play. Models have learned these associations from photo captions, so naming a focal length and a framing distance is one of the most reliable ways to control how a face looks.
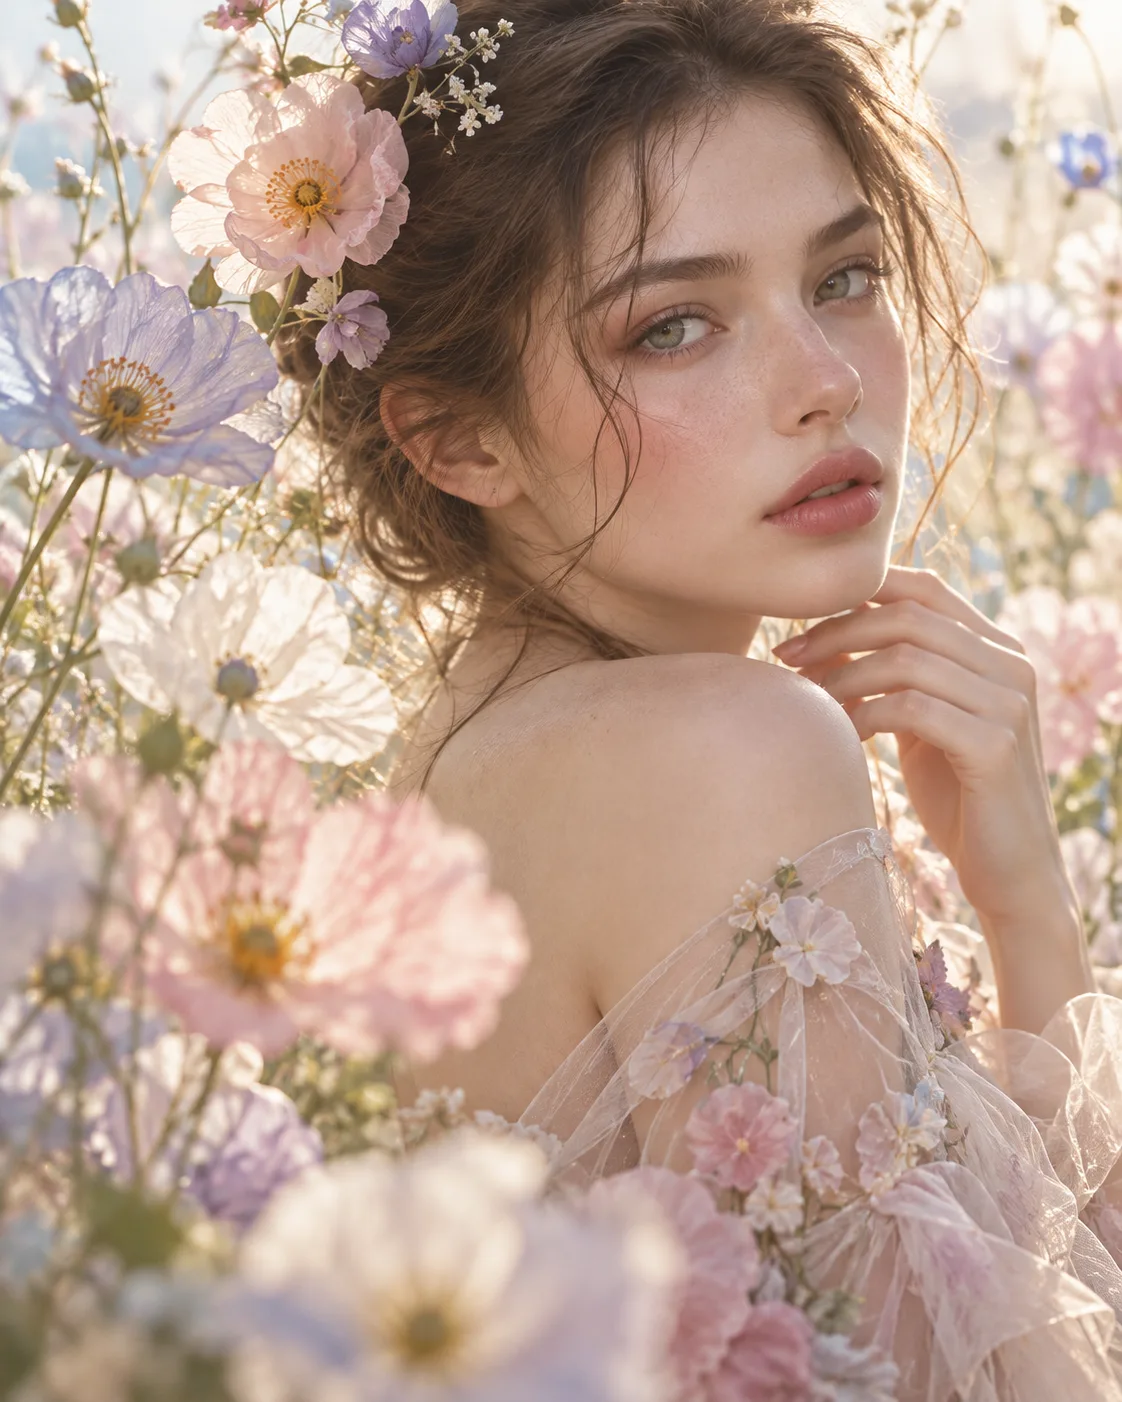
Describe light as a physical source with a direction. 'Soft light' alone gives flat, evenly lit results. 'Large window to the left, white wall bouncing fill from the right' gives shape, a catchlight in the eyes and a natural falloff across the cheek. For drama, try one hard source at 90 degrees, which puts half the face in shadow, or a warm practical lamp in frame against cooler ambient light.
Skin is where synthetic portraits give themselves away. Waxy, poreless faces come from prompts that stack beauty words. Ask instead for 'visible skin texture, fine pores, slight redness around the nose, natural undereye shadows', and state an honest age. Freckles, laugh lines and uneven stubble all add realism; heavy retouching language belongs only in a deliberate beauty-campaign look.
Keep subjects fictional. Describing a real person or a celebrity is not what this tool is for. When you need the same invented face in several images, reuse your best result as a reference image and keep the lighting description identical, so differences come from pose and expression rather than from the setup.
Prompt examples
Window-light portrait
Photorealistic head-and-shoulders portrait of a fictional woman in her fifties with cropped gray hair and freckles, soft window light from camera left, white wall fill from the right, 85mm lens, shallow depth of field, visible skin texture, muted green sweater, plain plaster background
Lens, light direction and honest skin detail are all specified, which removes the plastic look common in generated faces.
Try this promptLuthier in his workshop
Environmental portrait of a fictional luthier in his workshop holding an unfinished violin body, wood shavings on the bench, warm tungsten work lamp overhead, cool daylight from a back window, 35mm lens, waist-up framing, documentary photo style
Mixing a warm practical with cool daylight adds depth, and the props explain who the person is.
Try this promptHard-light film still
Cinematic close-up portrait of a fictional detective in a rain-soaked trench coat, single hard light from the side leaving half the face in shadow, cyan streetlight rim on the other side, light haze, 50mm lens, fine film grain
One hard key plus a colored rim creates film-still contrast without a crowded list of lighting instructions.
Try this promptPainted fisherman
Oil painting portrait of a fictional elderly fisherman with a weathered face and white beard, knitted cap, visible impasto brushstrokes, warm umber shadows, soft north light, dark neutral background, three-quarter view
The same subject logic carries into painted portraits; describing brushwork and palette steers the medium.
Try this promptStudio headshot baseline
Clean studio headshot of a fictional man in his thirties with short curly hair and a trimmed beard, navy crewneck, soft key light at 45 degrees, subtle fill, light gray seamless backdrop, 105mm lens, sharp focus on the eyes, natural skin texture
A classic 45-degree key on a seamless backdrop is a dependable baseline you can vary one element at a time.
Try this prompt
Start from a template
Frequently asked questions
- Can I make a portrait of a real person or celebrity?
- No. Portraits here are for fictional people and your own creative work. Build a new face by describing age, features, clothing and light instead of naming anyone.
- How do I stop faces looking plastic?
- Drop words like 'flawless' and 'perfect', ask for visible pores and natural blemishes, and describe a real light source. A specific age also helps, because it brings believable texture with it.
- What resolution can I get?
- Some models generate at up to 4K directly. For the rest, run the Upscale tool at 2× or 4× (Topaz) once details are fixed, since upscaling magnifies mistakes as well as detail.
- Which aspect ratio is best for portraits?
- 4:5 suits social feeds and prints, 2:3 matches classic photo prints and 9:16 fits phone screens. Reach for 16:9 or 3:2 when the environment matters as much as the face.
Keep exploring
Ready to create?
Pick a plan and you only spend credits on images you actually receive.
Start creating